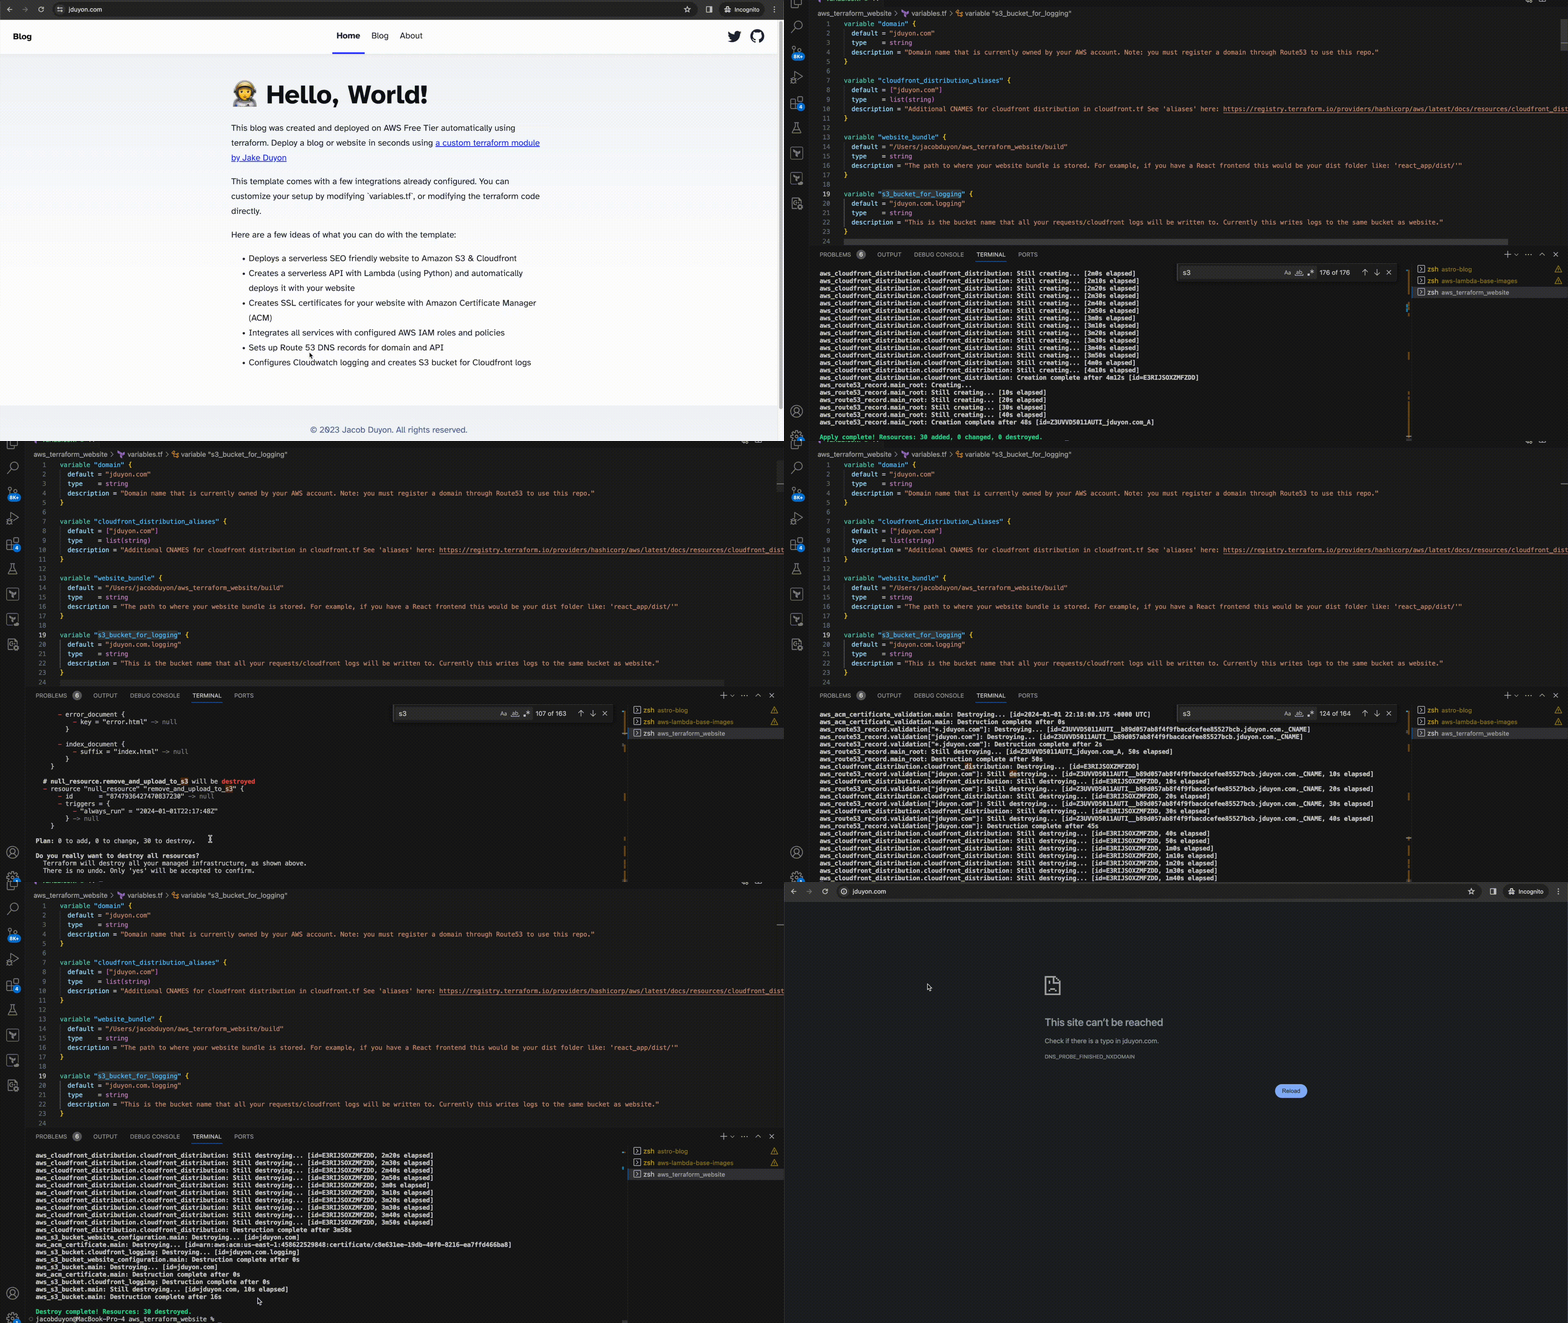
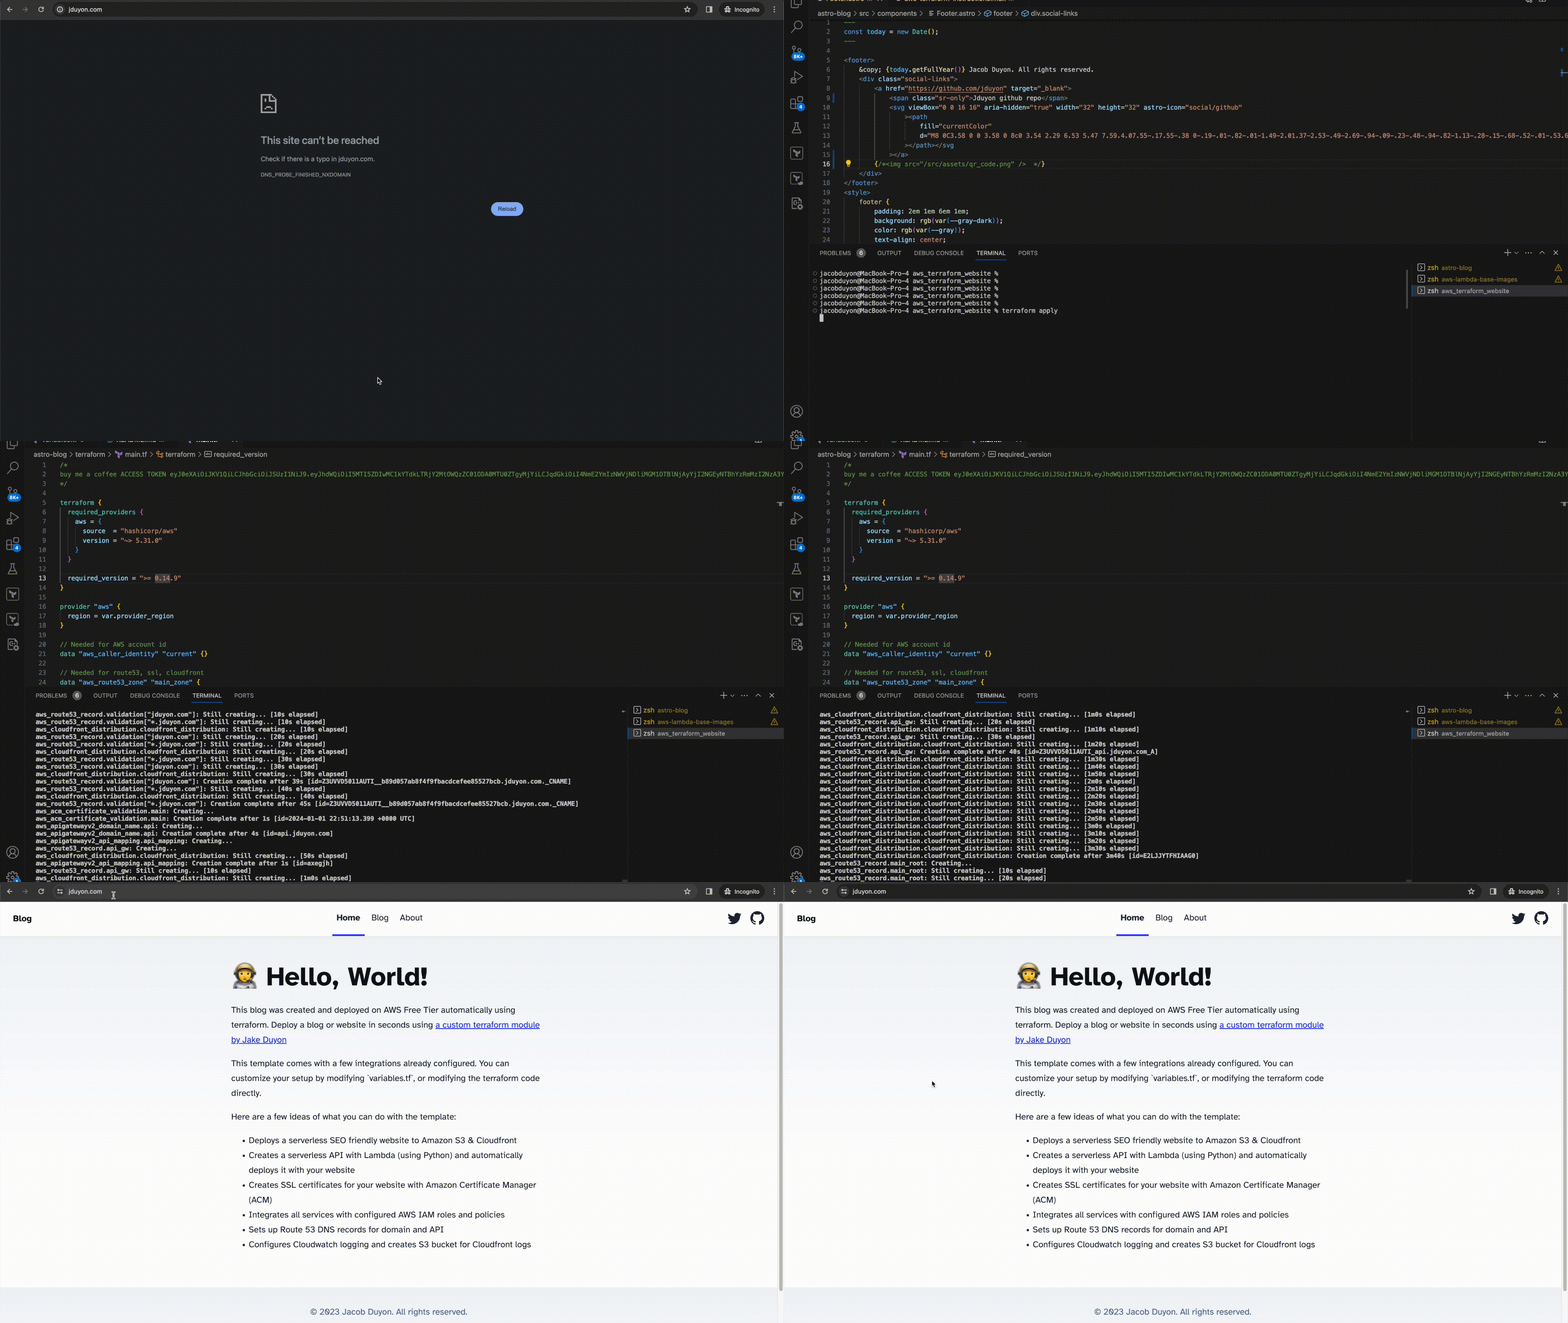
TLDR: pull down the code, edit variables.tf and deploy with terraform apply.
Clone the repo
After you made the purchase, you should have been invited to join the “serverlessiac” team here on github. Check your email and accept the invitation. We sent it to your “buymeacoffee” email.
Then clone the aws_terraform_website repo:
git clone https://github.com/serverlessiac/aws_terraform_website.gitMake note of the structure of the repo. The terraform code is separated into multiple .tf files sitting at the top level of the directory. Each service type gets it’s own file.
Additionally, there is a build and package directory:
The build folder is where your static website files will be put. For example, you might run npm run build for a react project and that creates a build folder. The contents of that build folder should be copied here.
Note: Do not copy the entire build directory like: build/build/ instead copy the contents.
The package folder is where your Lambda code and libraries will live. The template includes a python lambda function with a main.py file inside the package folder. This is the Lambda entry point and will spit out a "Hello World!". If you use any 3rd party python libraries, see this instructional about how to make sure your libraries get installed for the lambda.
Basically, you can run: pip install --target path/to/folder package-to-install to install libs to a folder.
Make sure Terraform is installed
To check if you have terraform installed run terraform -v. You should see an output like:
terraform -v

Terraform v1.5.4
on darwin_amd64
If instead you see bash: command not found: terraform then go follow the official terraform installation instructions .
Initialize the terraform state
To initialize terraform state, simply run: terraform init. You should see an output like:
terraform init

Initializing the backend...

Initializing provider plugins...

Terraform has been successfully initialized!

You may now begin working with Terraform. Try running "terraform plan" to see
any changes that are required for your infrastructure. All Terraform commands
should now work.

If you ever set or change modules or backend configuration for Terraform,
rerun this command to reinitialize your working directory. If you forget, other
commands will detect it and remind you to do so if necessary.
Configure your variables.terraform
It is a good idea to go through each of these variables and read their description. I’ve listed exactly what each variable is for and where you can find docs for it.
Configure these variables first:
- domain
- website_bundle
- api_gateway_subdomain
- s3_bucket_for_logging
- cloudfront_distribution_aliases
- cors_allow_origins
I’ve conveniently placed these at the top of the file. The rest of the config is mostly just naming resources.
Deploy your site!
- Note: You must already have a domain registered in your AWS account on Route53. All DNS records will get auto-created by terraform.
Run terraform plan and skim through all the resources that will get created. Don’t worry, I’ve run this code hundreds of times.
Now run:
terraform apply
Boom. You just deployed a blog in a few minutes.
You may notice the Cloudfront creation step takes a few minutes - this is normal.
DESTROY your site!
To delete all the resources that you just created, simply run:
terraform destroy

Pretty sweet right? You just deleted everything and have nothing to worry about. If you are paranoid, here’s a complete checklist of things to verify were deleted in the AWS console:
- Check S3 Buckets (public website and logging)
- Check API GW
- Check Route 53
- Lambda
- IAM Role, then IAM Logging Policy
- Cloudwatch log group
- AWS Certificate Manager (ACM)
One thing to note is: if you ever have a failure when running apply, some services won’t be deleted when you run destroy. This has to do with terraforms API for specific resources.
